
Word Processor Toolbars
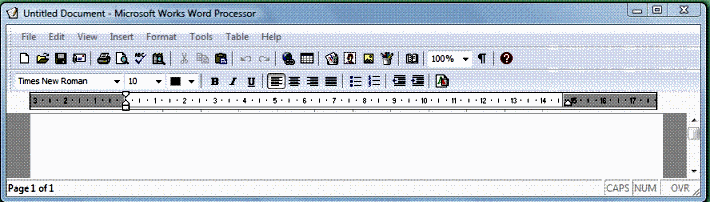
In the top border of the window is the name of the document and the name of the program. Below that is the menu bar. Clicking on any of these produces a drop down menu. Some items in the menu may be paler than the rest. This is called 'greyed-out', which means that function is not currently available. Below the menu bar are the tool bars; rows of icons separated by short vertical bars. If you don't know what each icon represents, hover your mouse pointer over the icon and after about a second a brief explanation, called a 'tool tip', pops up.
It should be pointed out that that different ways of achieving an objective can produce different results! For example, new document can be selected by:- Selecting the first icon on the tool bar.
- Using the keyboard shortcut 'Ctrl + N'. This means holding down the 'Ctrl' key and pressing the 'N' key.
- Clicking on the 'New...' item in the 'File' menu.
The first two ways set up a blank document, while the last way takes you to a 'select template' window.
Word Wrap and Key Repeats
When you type your document you may notice that, when you get to the end of the line, if your next word won't fit the whole of that word appears on the next line. This is called word wrap. You only need to press the 'Return/Enter' key when you get to the end of a paragraph. Of course, if you want to leave a blank line between paragraphs then press the 'Return/Enter' key twice.
If hold a key pressed for too long, you will notice that the character is repeated in a run-away fashion. The answer is to just tap the keys. If necessary, the delay and repeat rate can be changed.
Inserting and deleting text
Move your mouse pointer to the point where you want to insert or delete text and then click. The cursor, a blinking short vertical line, moves to that point. Insert the required text and then move the cursor back again. To delete the character to the left of the cursor, press the 'Backspace' key. To delete a character to the right of the cursor, press the 'Delete' key.